Blog

Post-Production Workflow – In The Field (Part 2)

POST PRODUCTION WORKFLOW

PART II: CULLING + EDITING 
By Patrick Patton

IMPORTING IMAGES
When I import files into Capture One Pro, I leave the default settings on and I import
my files into the “CAPTURE” folder, whether I am utilizing the tethered capture feature
of Capture One Pro, or just importing from a card. This keeps my method consistent,
and when it comes to file management, consistency is your best friend. When you
develop a consistent method for file management, you will have a much easier time
locating older files years down the road.

CULLING IMAGES
Culling simply means to make selections from a large quantity.
I use the rating system
to cull my images. My first pass is very liberal, and I mark anything that is usable with
one star. My second pass is decidedly more selective, and I mark only the really
fantastic images with two stars. If I still haven’t narrowed it down enough, I will go
ahead and make a third pass by marking the best of the best with three stars. I can
continue this process all the way on up to five stars if necessary, and at some point, I
should be feeling good about my selections.

ADJUSTING EXPOSURE
I usually start with exposure. Sometimes it is helpful to temporarily change your
image to black and white for this step. Adjust your exposure, brightness, contrast,
highlight recovery, shadow fill, etc. and then in most cases, you will want to copy your
adjustments to the other images to keep everything consistent, and then make any
needed adjustments from there.


PLAYING WITH COLOR

It’s a lot of fun to play with color, but you can go overboard really quickly and make
your model look like an alien from across the galaxy… in most cases, this is not ideal. I
don’t usually make my color adjustments until I’m finished retouching the image in
Photoshop (we will talk about that in Part III), but I wanted to show you that Capture
One Pro gives you some really powerful tools to play around with, and I do utilize these
from time to time.

EXPORTING IMAGES
I usually export my files to the “OUTPUT” folder. I know that this is where my select
images are going once they are ready to be opened in Photoshop for retouching. Again,
you will probably find your own method that works, and that is fine as long as you
have a consistent method that you understand.

Patrick Patton

I am a California-based photographer of people.  I work out of California’s Central Coast, home to some of the most incredible beaches in the world.  I have always enjoyed the pursuit and the challenge of creating and capturing beauty, whether it be through music, drawings, storytelling, or my favorite medium of all: photography. 

Spread the word

Choosing your photography mentor

In the latest Wednesday episode of The Fashion Photography Podcast 
Karl Taylor and Virginia Y 
made a short list with all the crucial steps you need to take in order to find the perfect photography mentor.

Read More

In the Shadows – by Kim Fisher

“In the right light, at the right time, everything is extraordinary.” – Aaron Rose

Read More

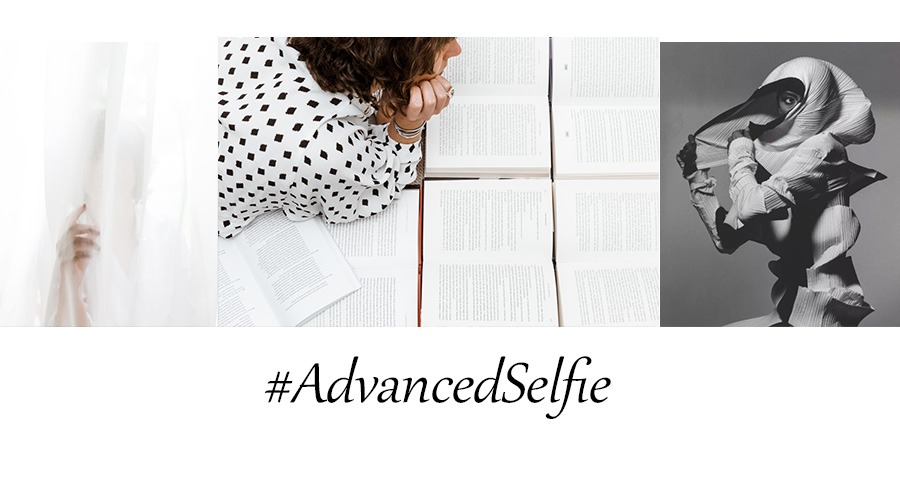
#AdvancedSelfie – by Kim Fisher

The first thing every first-time non-model client tells me is “I hate being in front of the camera” or “I hate photos of myself”, to which my standard response is “me too, that’s why…

Read More

Leave a Reply

Your email address will not be published. Required fields are marked *

Scroll to top