
Post-Production Workflow – In The Field (Part 2)


In the Shadows – by Kim Fisher
“In the right light, at the right time, everything is extraordinary.” – Aaron Rose

Stippling – by Kim Fisher
Stippling is the creation of a pattern simulating varying degrees of solidity or shading by using small dots. Such a pattern may occur in nature and these effects are frequently emulated by artists.
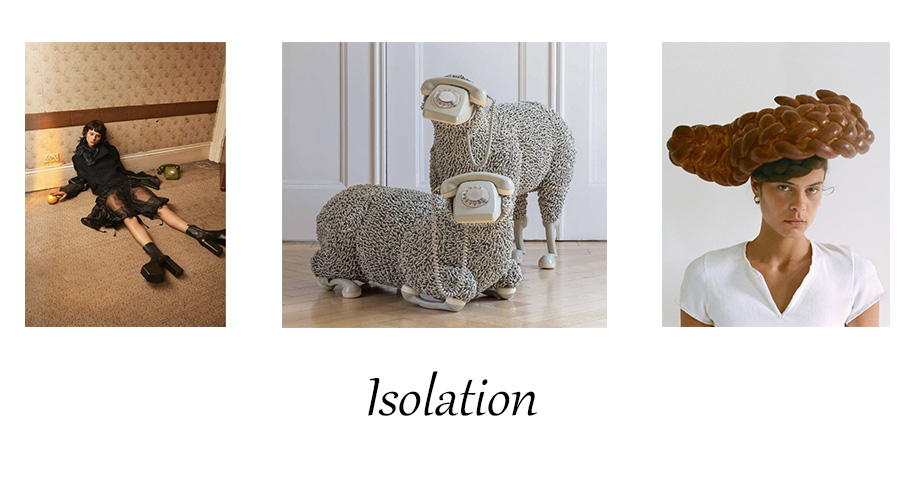
Isolation 2020
“The urge to make things and create things hasn’t gone away. I still have stories to tell.” – Marc Jacobs